Posted on February 14, 2017 | Last updated on February 19, 2023
How to Make Transparent Text in Photoshop: Watermark Images
This is the type of watermark that I like, you kind of see it, but looks like it’s not there. It almost looks transparent and this is a perfect way to add a watermark to your blog post images, or your photography work. I’m going to show you how I create it with a few simple steps in this Photoshop tutorial…
Step 1
Choose the name of your brand, or any unique name for the transparent watermark.
Step 2
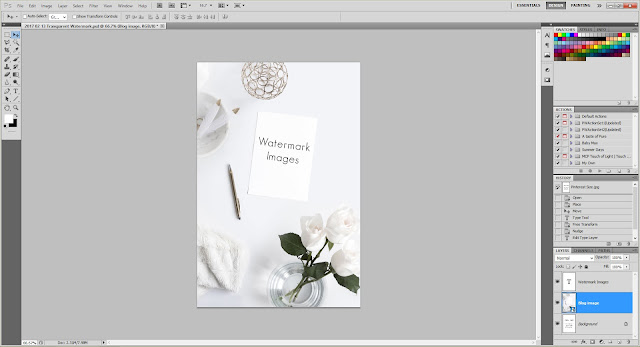
In Photoshop, open your image. Select the text tool, choose a font you like, and add the text. For my watermark, I’m going to use my brand name LynSire, and I’m using the font Futura Medium.
Step 3
Make sure you place the text where you want the transparent text to appear, and the color doesn’t matter because either way, it will become ‘invisible text’. Use the keyboard shortcut Ctrl + click for Windows (Cmd + click for Mac) on the text layer. With this shortcut, the text will become outlined. If it didn’t select, make sure you have the text layer selected.
Step 4
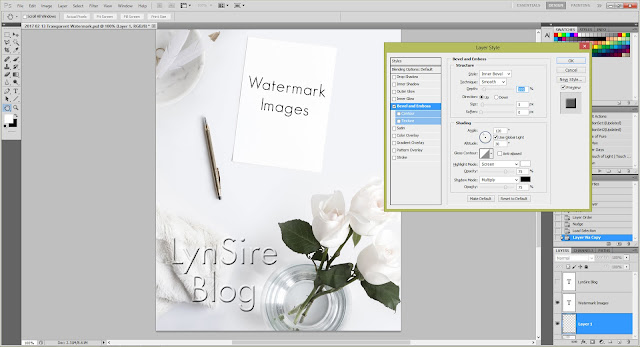
This part might be tricky, so pay close attention. Now hide the layer, by clicking on the eye icon next to the text layer. Next, select the image layer (make sure it’s the image layer and not the text layer), and use the ‘layer via copy’ Photoshop shortcut Ctrl+J for Windows (Cmd + J for Mac) to copy only the selected area of the image. At this point you won’t see anything, it will become visible after you add a layer style. Click the ‘fx’ button in the layer panel, and select ‘Bevel and Emboss…’
Step 5
At this point, you already have transparent text. Now you can adjust the settings, and make it to your liking. You can adjust the opacity, shading, and more to suit your needs. For mine I made the ‘Size’ to 0 px, to make it really invisible text. The final result is the main image of this blog post!
That’s it! This is the simple way I use to create transparent text or invisible text in Photoshop. I hope you enjoyed this Photoshop tutorial, and that you can apply it to watermark images for your blog posts, or any photography work. Until next time!


2 Comments
i never used a photoshop but i seriusly needed it. thanx for sharing
i like your effective tips. All steps are easy to follow. I have learned something new today.Thanks